

Why would someone want to edit a zoom recording? Well, if you have a recorded Zoom meeting, there is a good chance that it has never been watched or used again—getting dusty on a shelf somewhere in the cloud. But wouldn't it be nice if you could edit it, cut out the unnecessary parts so that it’s easy to share only the important moments from the meeting.
Especially, if you conduct webinars and customer interviews using Zoom, then the content of the meetings are too important to be ignored.
From paying for third-party services to using complex video editing software, we have seen multiple suggested workflows on the internet to edit a zoom recording. But we know a simple way and wanted to share it so that you can edit and repurpose Zoom recordings to get the most out of your work. Let's go!
How to Edit a Zoom Recording?
First things first. We’ll use—Grain to edit your Zoom recording.
For the uninitiated, Grain is a powerful tool designed to record, transcribe, clip and share the most important moments from your meetings as highlight clips. But what about the zoom recordings you have saved to Cloud or local drive? You can import/upload them too.
Here, we’ll focus on how you can get value out of pre-recorded meetings using Grain.
How to edit a zoom recording in three quick steps:
- Create an account.
- Upload your recording.
- Edit your zoom recording.
Step 1: Create an account
Visit Grain and sign up using your Google or Outlook account in about 2 minutes. Once you are signed up, you’ll be asked to create a workspace—where all your zoom call recordings, highlights, and transcripts are saved.
Step 2: Upload Your Zoom Recording
As soon as you are in your newly created workspace, you’ll see an option to upload your Zoom recordings from the desktop or import them from Zoom Cloud.
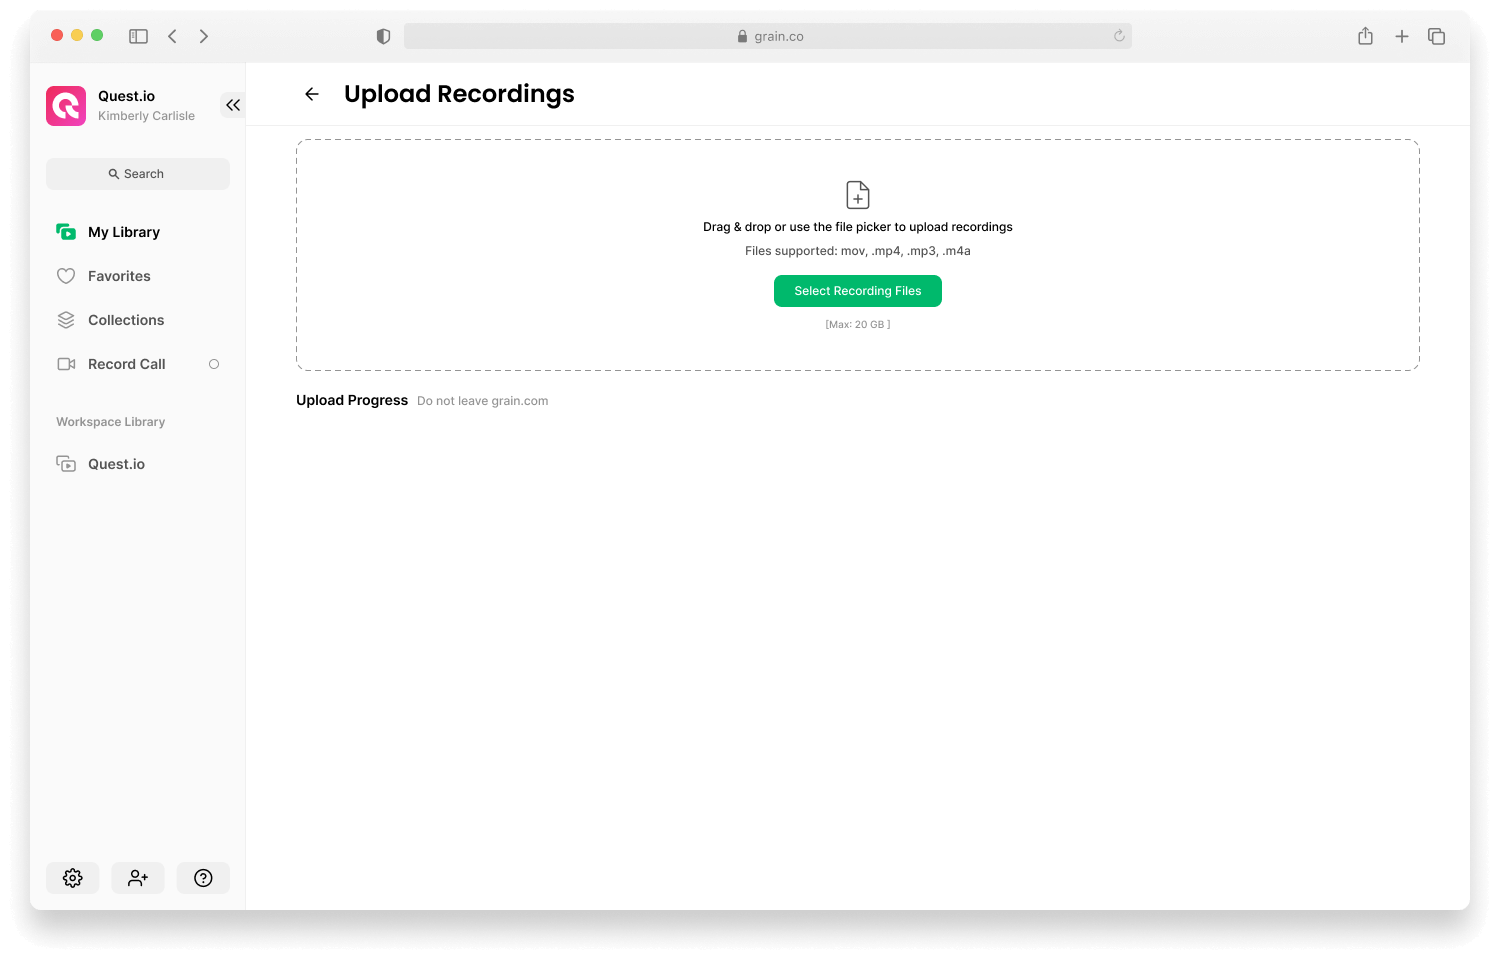
Upload or import the recording you want to edit.
Step 3: Edit Your Zoom Recording
Within a of minutes, your uploaded recording will be transcribed and available for you to edit.
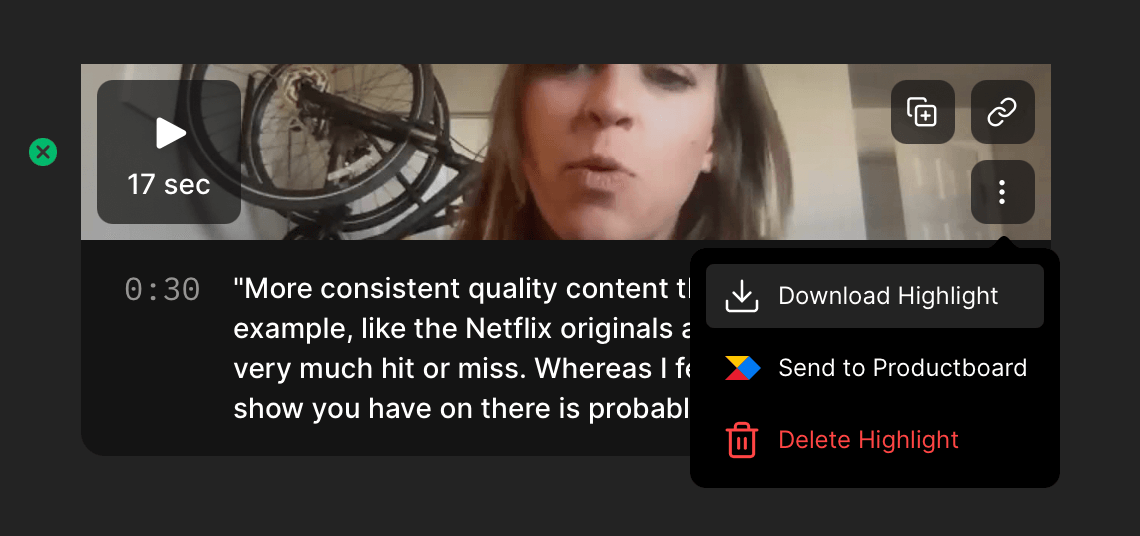
Then, you can easily select the text in the transcript (i.e., parts of the video), and click “create highlight” to create a video clip. Voila! You have an edited clip from your Zoom meeting ready to share.

You can either share the highlight clip via a link directly or download it to your computer.
Create as many highlights as you like, share them across your social media channels, with your team (aka send a meeting recap), or just keep them for your reference. You can come back anytime to your Grain workspace to access the complete recordings, transcripts, and video highlights.
You don’t need a specialized Zoom video editing service or rely on complex software. Within a few minutes, you’ll have zoom recording highlights that are ready to share. Looking to combine multiple zoom recordings? Here's how to do it using Grain.
Pro Tip: Create highlights in real-time
Do you create video clips from your Zoom recordings often? Then, we’ve got great news for you. With the Grain desktop app, you can do it in real-time. That’s right! You don’t have to wait till the meeting gets over.
All you need to do is download the Grain desktop app and then sign in to your account. When the meeting starts, hit the ‘record’ button on Zoom. Grain will automatically join the call and you’ll see a handy notepad — which will help you take time-stamped notes and create video clips.

Once the meeting’s over, Grain will upload the meeting to your workspace and make it easier for you to access the Zoom recordings for future reference.
Related: How to Automatically Transcribe Your Zoom Meetings for Free?
Are you looking to just trim the first few minutes of the recording to cut out the awkward silences and water-cooler banter? Then, Zoom can help as well.
Can I use Zoom to Trim Recordings?
If you have a paid Zoom account (ie., a licensed user), you can access your recording in Zoom Cloud and trim it before sharing.
Step 1: Visit Zoom.us and sign in to your account.
Step 2: Go to My Account > Recordings.
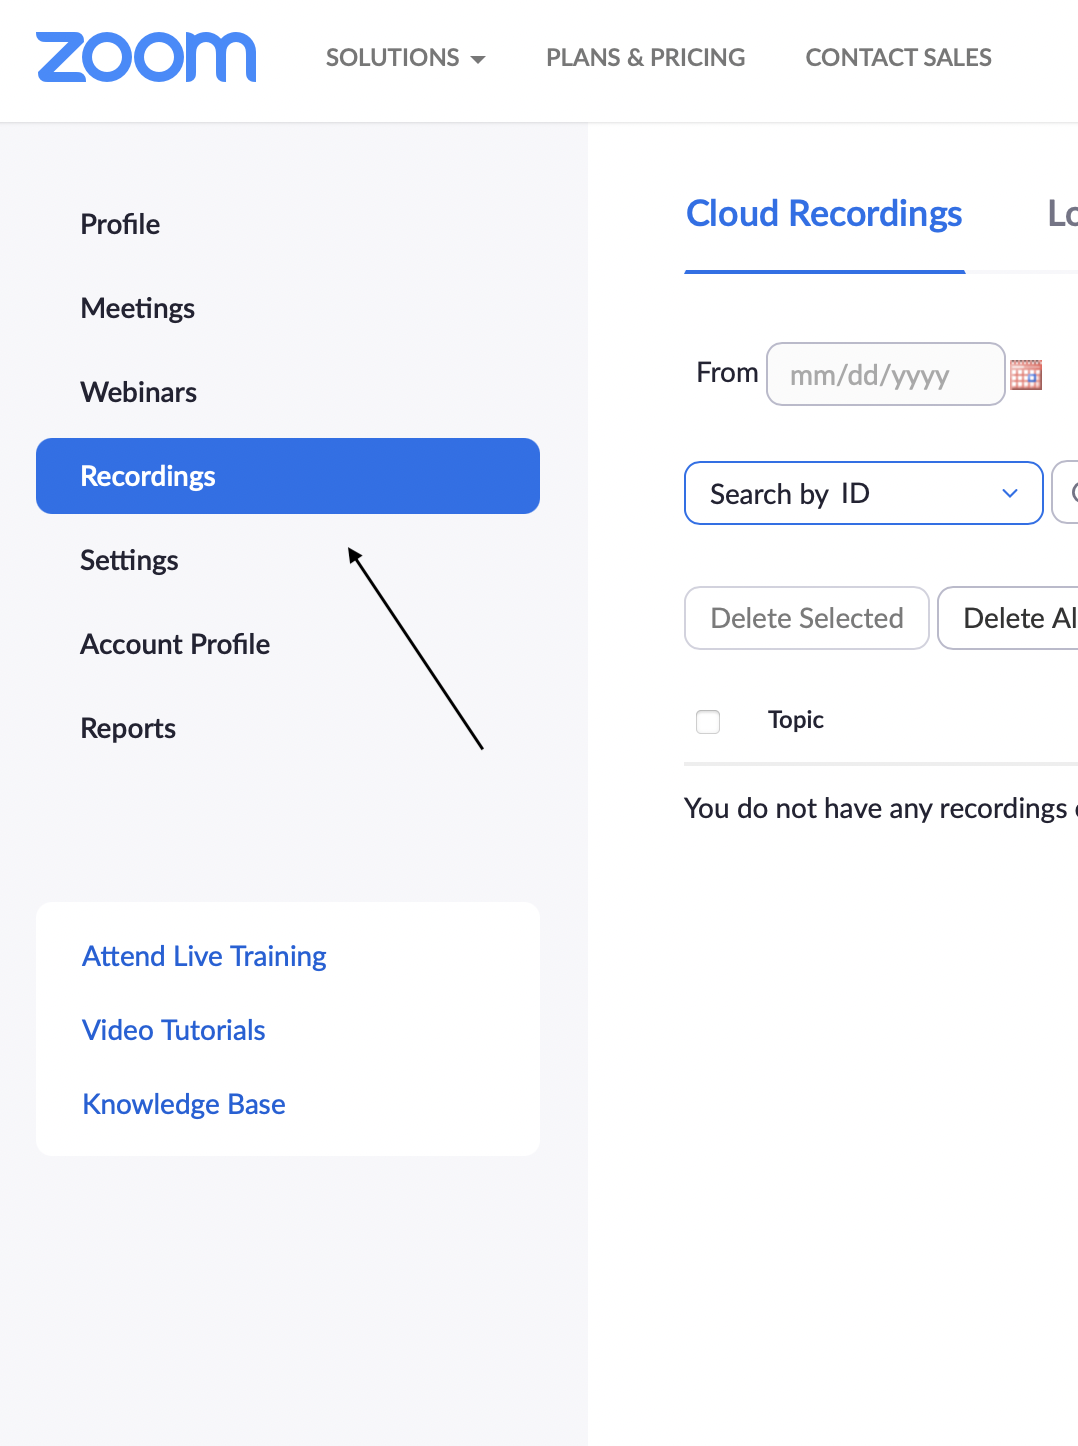
Step 3: You’ll see the list of recordings available under the Cloud Recordings tab.
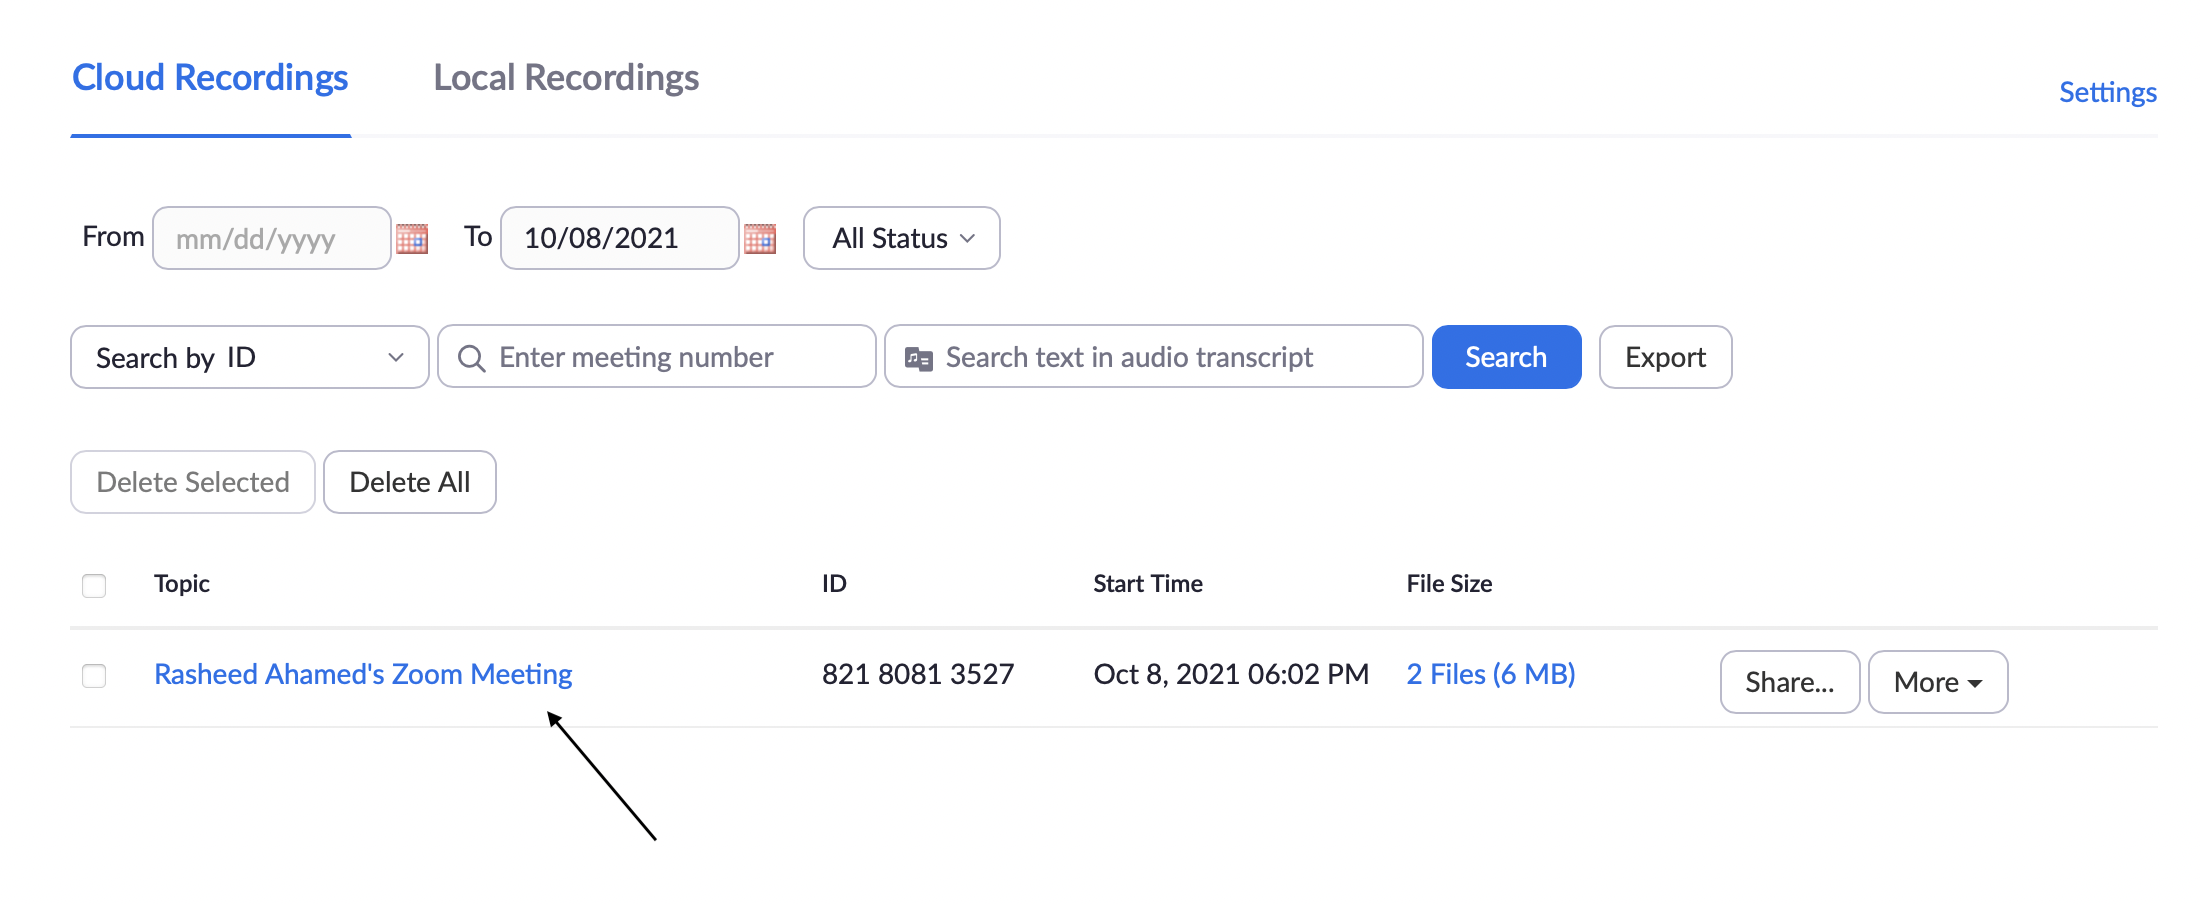
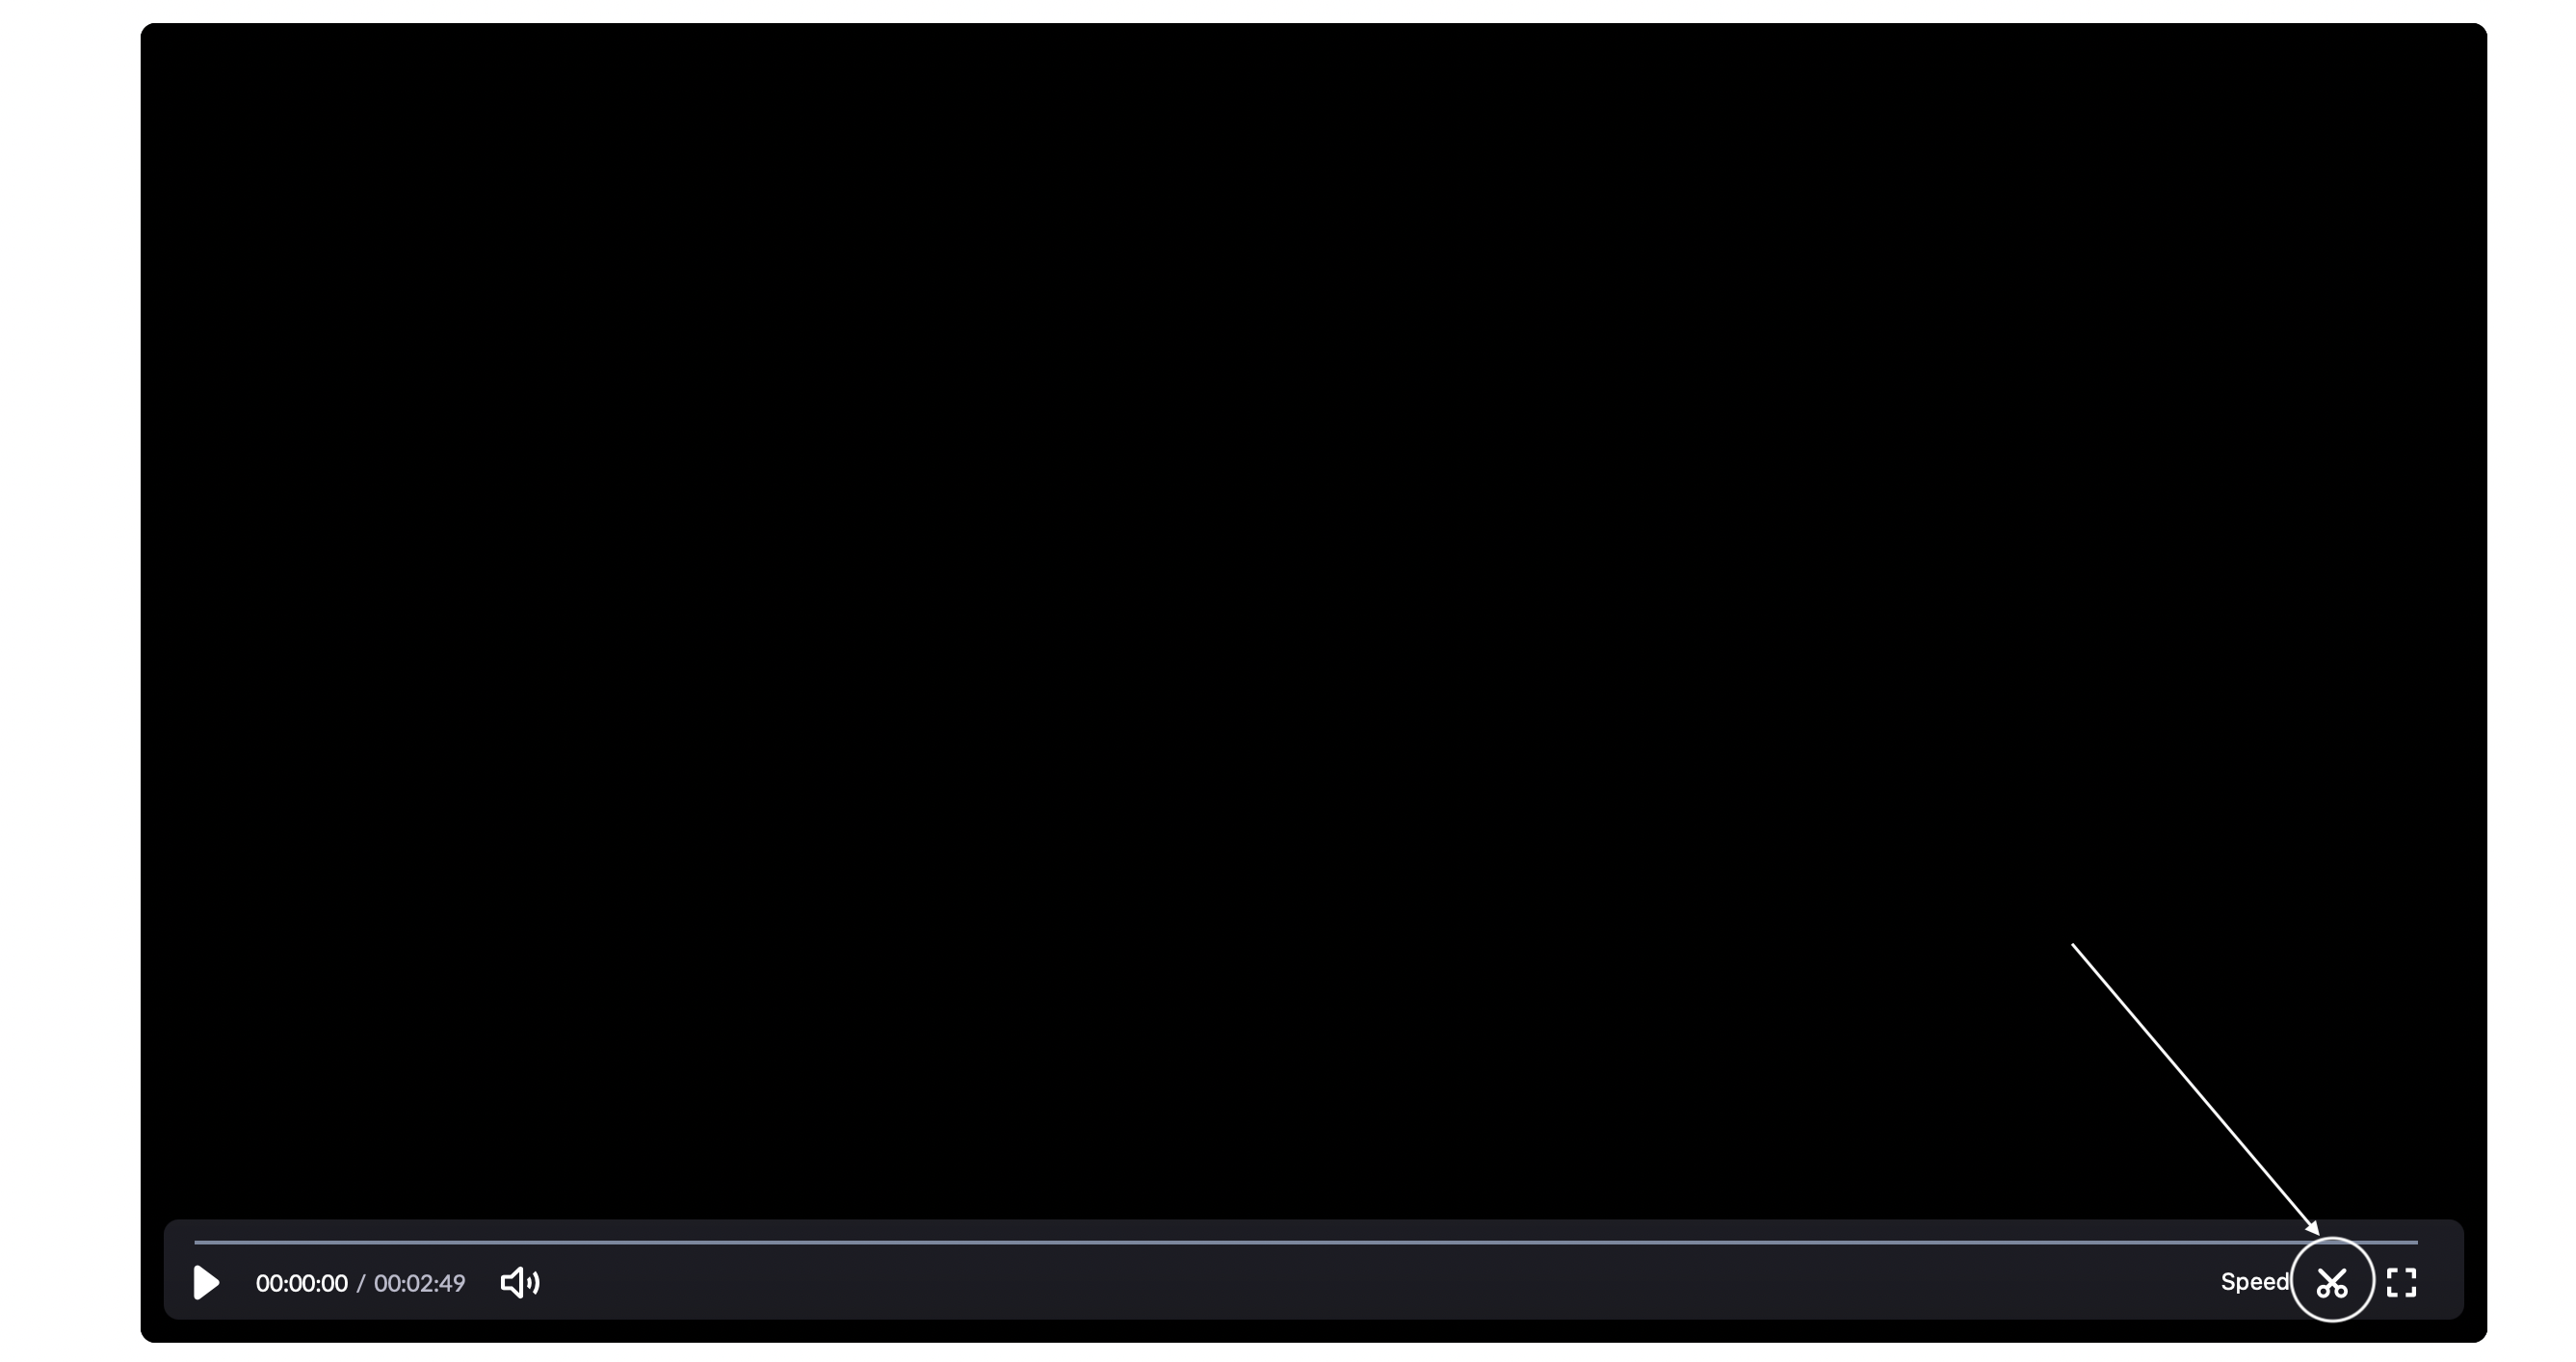
Step 4: Open the recording file and hit Play.
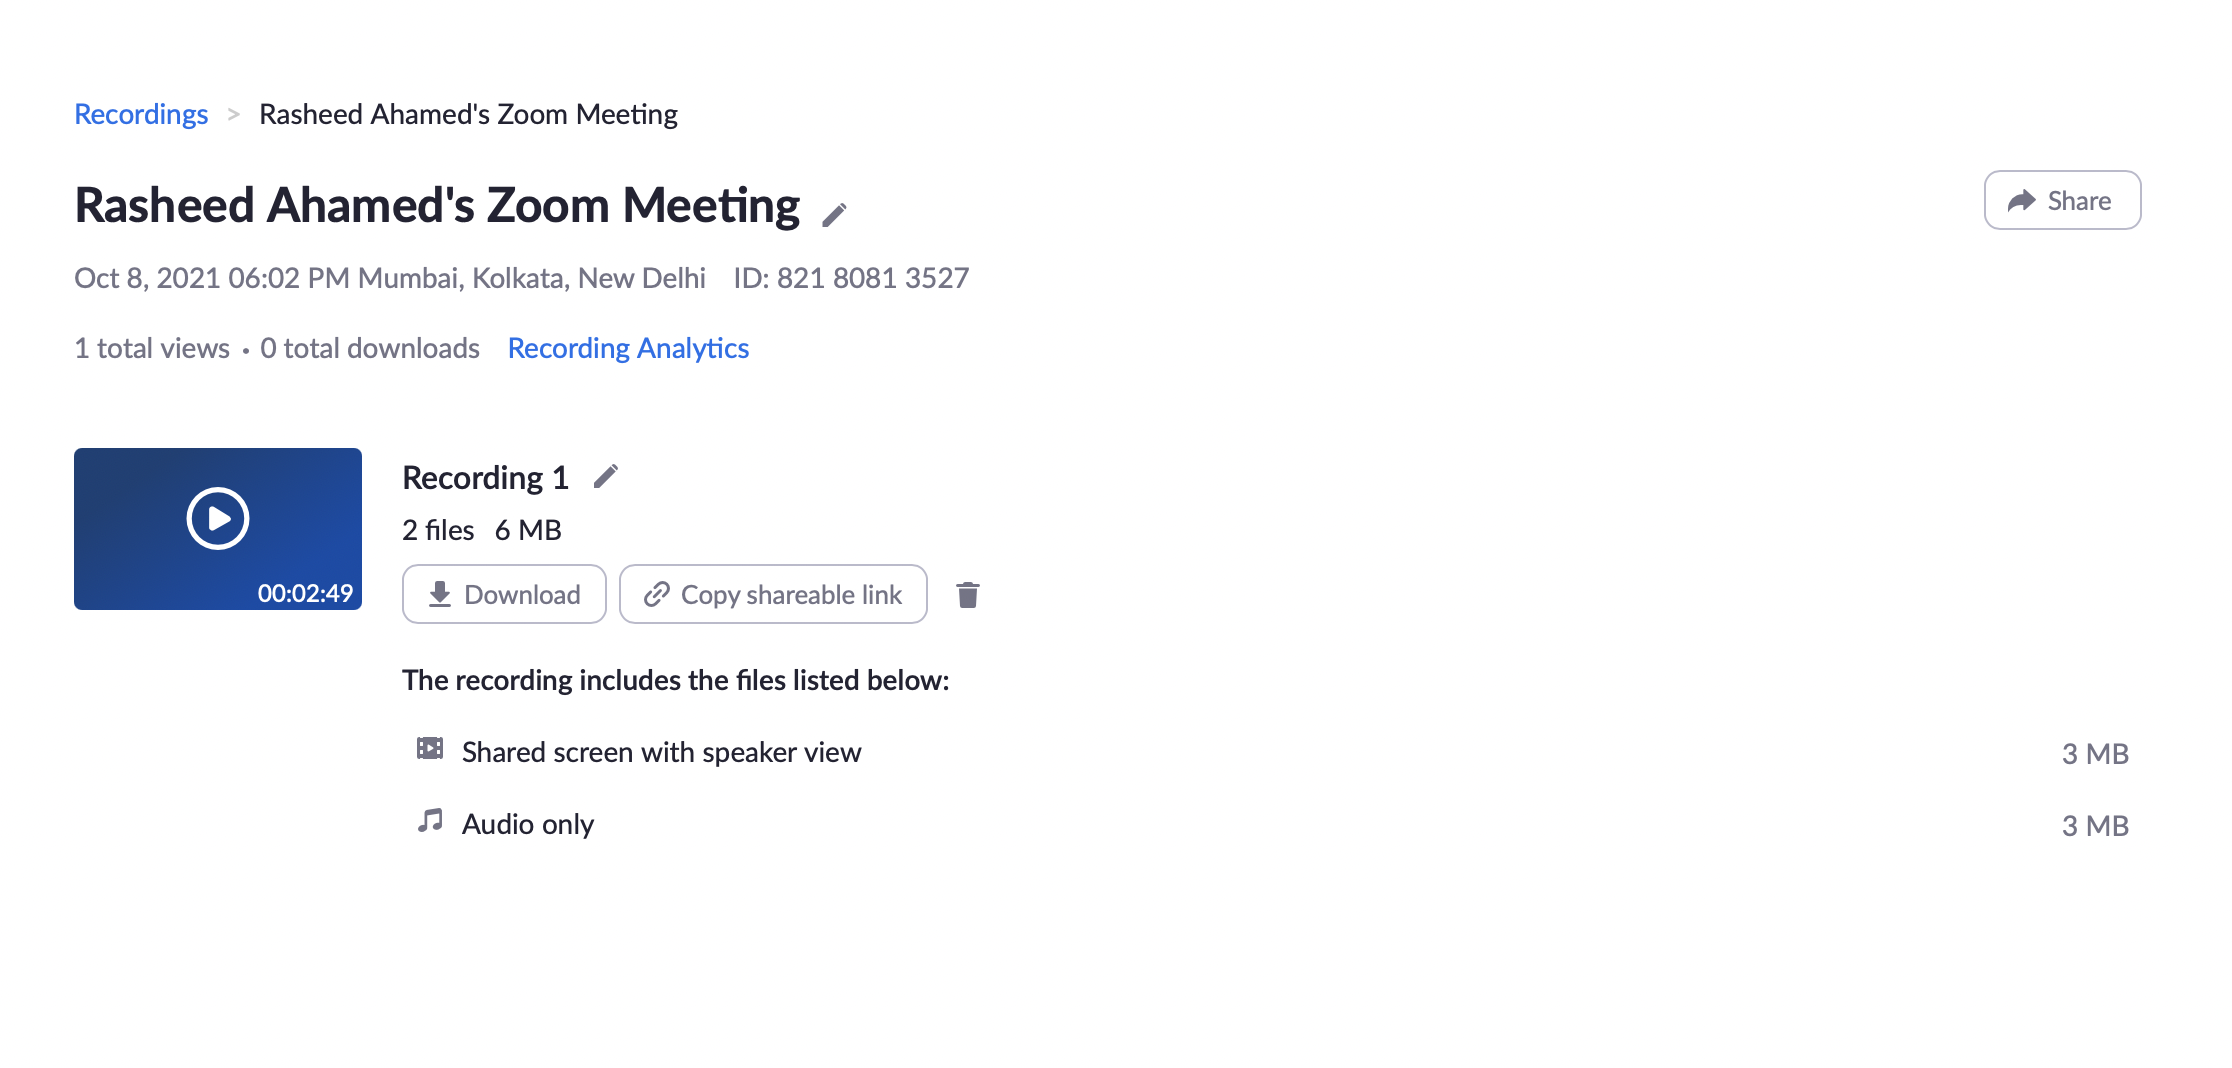
Step 5: Click on ✂️ to trim your recording. Once you’re done, hit Save. That’s it!
To summarize, if you tend to record your meetings and create several video clips, then Grain is the way to go. On the contrary, if you want to just trim the recording in hand, then leverage Zoom Cloud and get it done.